
Replacement Printer Assembly for EDAN F2 Fetal Monitor 01.13.114339
Replacement Printer Assembly for EDAN F2 Fetal Monitor 01.13.114339
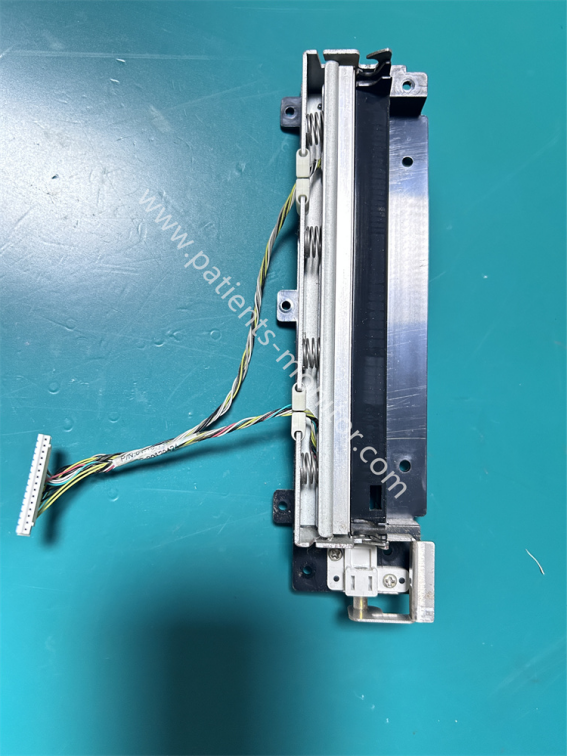
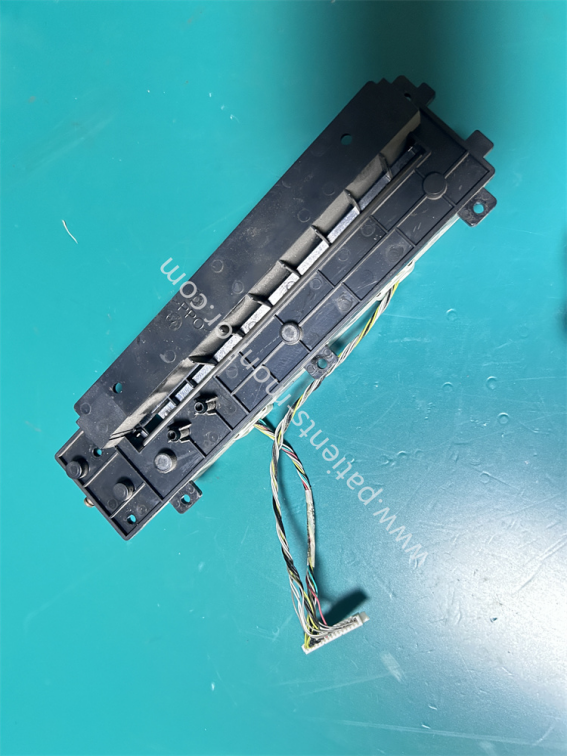
This is an accessory for the Edan F2 fetal heart monitor printer. It's an original accessory from the monitor printer, in excellent condition, and has been tested and confirmed to be functional. The part number is 01.13.114339, which can be used to identify the accessory during procurement.
This printer accessory is secured inside the device with screws; the screw holes around the accessory are clearly visible in the picture. The accessory is made of metal and black plastic, providing excellent support and resistance to bending. It also has a connector for connecting to the F2 monitor body to receive printing signals and send signals for paper shortages, paper jams, etc.
Functional & Advantages
1. Print Output
As the core printing module of the EDAN F2, this accessory can thermally print waveforms, data reports, and other information transmitted from the motherboard onto dedicated thermal paper, producing clear graphics and data.
2. Paper Feed Control
The printer accessory features a metal paper clamp and spring support, providing pressure during printing. Combined with the paper feed path, this effectively avoids paper jams and wrinkles, ensuring a smooth printing process.
3. High Reliability: The thermal printhead has a long lifespan and long printing time, which can meet the frequent printing needs in medical scenarios; the overall structure is robust and has strong resistance to vibration and impact.
|
Product name |
Printer Component |
|
PN |
01.13.114339 |
|
Machine model |
F2 fetal monitor |
|
Type |
Monitor parts |
|
Material |
Plastic+Metal |
|
Color |
Black |
|
Warranty |
90 days |
|
MOQ |
1 Piece |
|
Weight |
About 150g |
|
Delivery by |
Express |
Installation Steps
1. After turning off the power, wait 10 minutes before removing the outer casing and paper tray to locate the old printer assembly.
2. Disconnect all connecting cables from the printer assembly and note their positions.
3. Unscrew the screws and remove the old printer assembly.
4. Align the new printer assembly with the positioning holes, tighten the screws, and reconnect the cables in their original positions.
5. Load thermal paper and test the printing function to ensure smooth paper feed and clear printing.
6. Reinstall the paper tray and outer casing.
| Payment Methods | Bank Transfer / PayPal / Western Union |
|---|---|
| Shipping Methods | DHL / FedEx |
Get in Touch
Have questions about our products or want to discuss a custom order? Our team is ready to help you.