
GE L6-12-RS Ultrasonic Probe Transducer 4.0-13.0 MHz For Logiq Vivid
GE L6-12-RS Ultrasonic Probe Transducer 4.0-13.0 MHz For Logiq Vivid
Description
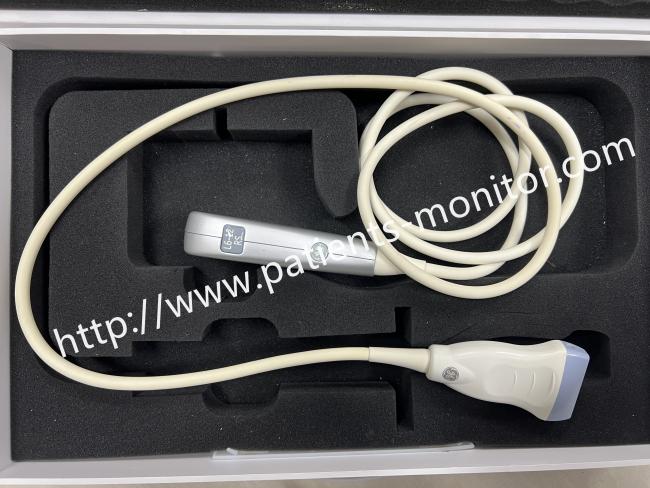
The Linear Array Broadband Ultrasound Transducer (Model: L6‑12‑RS) is a high‑frequency linear probe engineered for superior small‑parts, vascular, musculoskeletal, and pediatric imaging. It features a slim‑profile acoustic footprint (approximately 38.4 x 6.0 mm) and a broadband operating range, making it highly versatile for a wide array of clinical applications-
The sleek, ergonomic housing provides healthcare professionals a comfortable, non‑slip grip while the lightweight, shock‑resistant shell ensures durability across daily hospital use. The probe utilizes a linear array of precision piezoelectric crystals to convert electrical signals into focused, low‑noise ultrasonic waves and receive returning echoes, delivering exceptionally high lateral and contrast resolution. Its design integrates a robust, shielded cable and a standard RS‑Pin connector that provides a secure, use for Versana and LOGIQ to Vivid series systems
Specifications
| Model | L6‑12‑RS |
| Transducer Type | Linear Array |
| Frequency Range | 4.0-13.0 MHz |
| Field of View / Acoustic Window | 38.4 mm aperture / 38.4 x 6.0 mm |
| Maximum Imaging Depth | Up to 6 cm |
| Supported Scan Modes | 2D (B‑mode), Color Doppler, Power Doppler, Pulsed Wave (PW) Doppler - |
| Compatible Systems | Vivid/LOGIQ / Versana models |
Main Features
1. High-frequency broadband design, the probe can accurately capture ultrasound signals of superficial soft tissues and microstructures of blood vessels, generating high-definition two-dimensional images, providing clear and reliable imaging evidence.
2. Compatible with color Doppler and pulsed-wave Doppler imaging modes, it can accurately detect the blood flow velocity, direction, and distribution status of superficial vessels, assisting medical staff in judgment.
3. Stable signal transmission imaging, the probe is equipped with high-precision transducer chips and shielding structures, ensuring stable bi-directional conversion of acoustic and electrical signals, effectively reducing imaging artifacts, noise, and ghosting, and ensuring continuous and stable imaging output throughout.
Installation Steps
1. Before installation, completely shut down the ultrasound equipment and disconnect the power supply to avoid damaging the interface circuitry or causing abnormal probe signals due to hot-plugging.
2. Locate the dedicated probe interface on the side of the ultrasound unit. Clean the interface of dust, coupling agent residue, and other impurities, ensuring it is clean and free of foreign objects.
3. Holding the probe interface by its base, smoothly push it into the host unit's interface, aligning it with the keyed locking mechanism. After hearing a click, confirm that the interface is fully engaged and secure.
4. Organize the probe cable, avoiding bending, squeezing, or tangling. Secure the cable routing. After powering on, enter the imaging interface for testing. Once the image is clear and there are no signal errors, it is ready for normal use.
Get in Touch
Have questions about our products or want to discuss a custom order? Our team is ready to help you.