
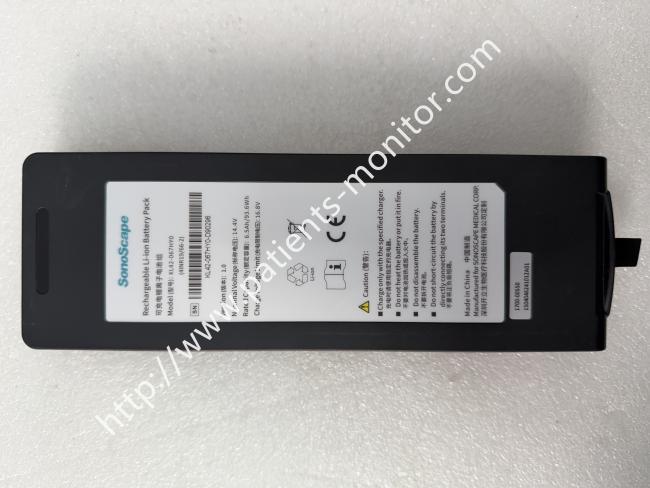
SonoScape Rechargeable Li-ion Battery Pack Model KL4S2P31B (4INR19 66-2)
SonoScape Rechargeable Li-ion Battery Pack Model KL4S2P31B (4INR19 66-2)
Description
SonoScape KL4S2P31B rechargeable battery is an economical and efficient replacement power component suitable for E-series (such as E1, E2, E3, Exp) and X-series (X1, X3, X5) models It is equipped with six layers of protection mechanisms driven by BMS intelligent chips internally, which can deal with situations such as overcharging, overdischarging, overcurrent, overvoltage, overheating, and short circuit, ensuring the safe operation of the equipment. The precise OEM specifications also enable it to be accurately matched with the machine's power management system, maintaining normal machine operation.
key performance
- Before the first installation of the new battery, it needs to be activated through 2 to 3 complete charge and discharge cycles to ensure that the built-in lithium ions achieve optimal performance.
- For scanning modes with high instantaneous power consumption such as 3D/4D and color Doppler, the voltage stability of the battery is particularly critical - KL4S2P31B can effectively suppress voltage fluctuations that may induce image artifacts and prevent the host from accidentally shutting down during critical diagnostic operations.
- It can sustainably complete hundreds of charging and discharging cycles at regular ambient temperatures, and maintain a retention level of no less than 80% of its original capacity even after such intensive cycles
Installation and Removal
When replacing the battery, it is recommended to completely turn off the device and unplug the AC power supply, and let it sit for at least half a minute to release residual charge. Then remove the fixing screws of the machine back cover. After opening the cover, it can be observed that the old battery is connected to the device motherboard through the power plug and ribbon cable.
At this time, be careful to unplug the plug and ribbon cable, and do not use brute force to avoid damaging the connectors or wiring harness. After removing the old part, place the new battery into the corresponding slot, align it with the positive and negative directions, re plug the power cord, and connect the power plug.
Finally, reinstall the cover plate and tighten the screws to complete the assembly
Precautions
1. It should be avoided to deplete the battery to 0% - deep discharge can damage the cell structure and accelerate its decay.
2.When the device emits a prompt at 5% low battery, it should be turned off and charged in a timely manner. If stored for a long time, the battery capacity should be maintained at 70% or above, and the storage period should not exceed three months.
3. The daily storage environment should be kept away from areas with extreme high or low temperatures, and batteries should not be artificially squeezed, disassembled, dropped, or short circuited.
4. If the host stops charging midway during the first charge of a new battery, it is a normal phenomenon caused by different voltage and current values. After removing and reinstalling the device, the normal charging process can be restored
Get in Touch
Have questions about our products or want to discuss a custom order? Our team is ready to help you.