
Toshiba PVM-375BT 6C1 Ultrasound Probe Convex Array Transducer
Toshiba PVM-375BT 6C1 Ultrasound Probe Convex Array Transducer
Introduction
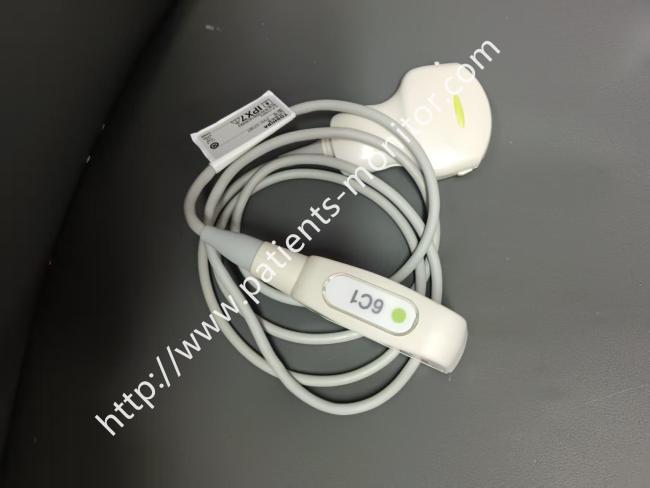
The Toshiba PVM-375BT 6C1 is a broadband convex (slightly curved) ultrasound transducer from the T‑series product line. The “6C1” designation indicates its frequency model. Its grey plastic casing follows an ergonomic contour that feels comfortable in hand and helps reduce fatigue during extended scanning sessions. A curved piezoelectric crystal array is housed at the front of the probe, which naturally provides a wide field of view. The transducer has a nominal centre frequency of 3.75 MHz, but thanks to multi‑layer crystal technology it can smoothly switch between 1.5 MHz and 6.0 MHz. That frequency flexibility allows the user to adjust the trade‑off between penetration depth and image resolution depending on the target being examined.
Key Functions
-
Operating between 1.5MHz and 6.0MHz, this probe effectively provides both mid-frequency and high-frequency modes. Lower frequencies ensure good penetration of deep abdominal organs, while higher frequencies provide clear visualization.
-
The convex array probe has a natural scanning angle of approximately 70°, offering a wide field of view.
-
The transducer uses a stacked multi‑layer piezoelectric crystal design. High‑frequency components of the pulse cover the near field (good for detail), mid‑frequencies handle the transition zone, and low‑frequency components penetrate deeper structures.
Installation & Removal
1. Always turn off the ultrasound system completely before connecting or disconnecting a transducer.
2. Find the small alignment mark on the probe’s connector plug and line it up with the corresponding notch on the system’s receptacle. Push the plug gently but firmly into the socket until you hear a soft “click” – that tells you the connector is fully locked. After fitting, give the plug a light tug to confirm it is secure.
3. To remove the probe, power off the machine first, then press the release catches or unlock mechanism on the sides of the connector (the exact design depends on the specific system) and pull the plug straight out. Never pull on the cable itself.
Usage Precautions
- Avoid dropping or hitting the probe.The piezoelectric crystals inside are fragile. A sharp impact can crack them or reduce their sensitivity, resulting in dark bands, shadowing, or dead areas on the image.
- Protect the acoustic lens.The lens at the front of the probe is made of a soft material. Never scratch or puncture it with a sharp object. If the lens is damaged, coupling gel can seep inside and corrode the internal components.
- Do not leave the probe in direct sunlight or near a strong UV source for a long time. Also avoid sudden, large temperature changes. Prolonged heat exposure accelerates ageing of the housing material and the cable insulation.
- The probe is not fully immersible. Submerging it deeper than the level stated in the operator’s manual may let liquid enter through unsealed gaps, causing internal shorts or even burning out the electronics.
- Leftover gel can dry and harden, clogging the acoustic pathway or attacking the plastic housing. Use a mild, probe‑safe cleaner to wipe off all gel residues at the end of the session.
Get in Touch
Have questions about our products or want to discuss a custom order? Our team is ready to help you.