
Fire Retardant Exterior WPC Cladding Shields Seamless Interlocking Installation
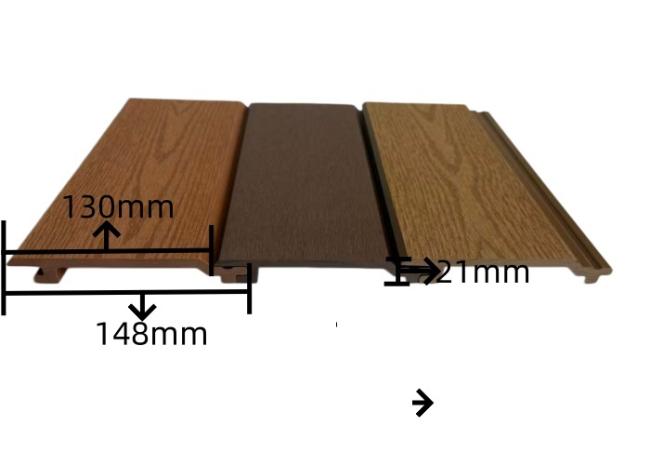
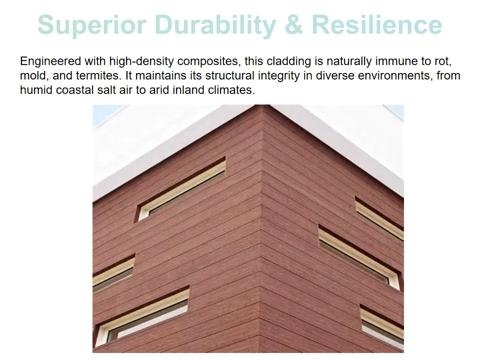
This commercial-grade WPC cladding is engineered with advanced fire-retardant technology, meeting strict global building safety codes. It offers architects and project managers a premium, sustainable facade solution that perfectly balances aesthetic elegance with uncompromising structural protection, maximizing long-term property value.
- Class B Fire Rating - Engineered with self-extinguishing properties to prevent flame spread and minimize toxic smoke in commercial projects.
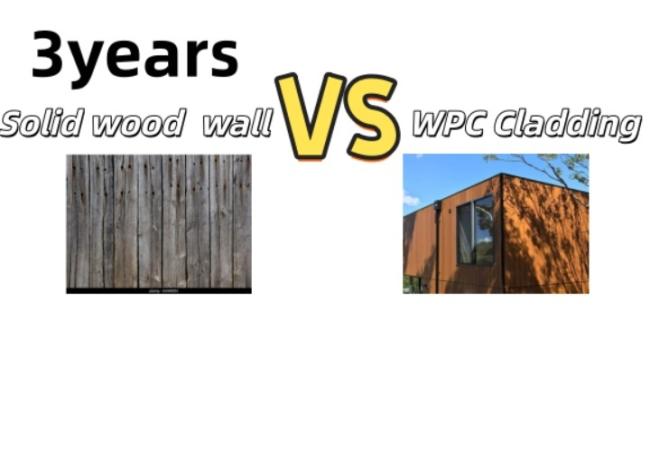
- Decade-Long Structural Integrity - Resists rot, termites, and fungal decay, outlasting traditional timber cladding in high-moisture environments.
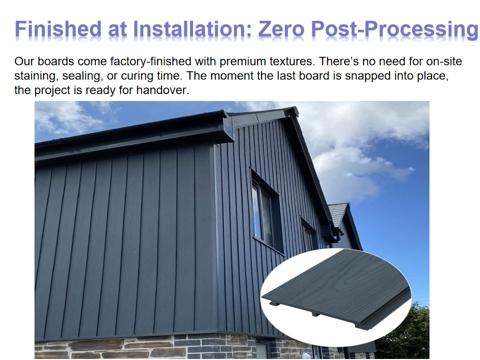
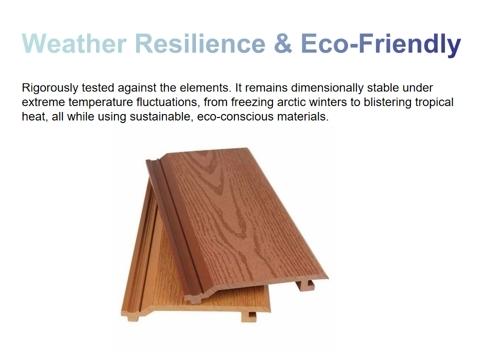
- Seamless Interlocking Installation - Features an intelligent tongue-and-groove system that reduces labor costs and ensures a flawless, hidden-fastener finish.

| NO. | Test Items | Requirements | Results | Verdict |
|---|---|---|---|---|
| 1 | Minimum concentrated load, N | ≥3400 | 3492 | ✔pass |
| 2 | Static bending strength, MPa | ≥26.0 | 26.5 | ✔pass |
| 3 | Elastic modulus, MPa | ≥3000 | 4600 | ✔pass |
| 4 | Water absorption, % | ≤1.0 | 0.9 | ✔pass |
| 5 | Falling hammer impact at low temperature | No crack at the temperature of -10°C | pass | ✔pass |
| 6 | Dimensional change rate after water absorption, % | Length ≤0.3 | 0.1 | ✔pass |
| 7 | Dimensional change rate after water absorption, % | Width ≤0.4 | 0.1 | ✔pass |
| 8 | Dimensional change rate after water absorption, % | Thickness ≤0.5 | 0.5 | ✔pass |
| 9 | Anti-slippery value | ≥35 | 36 | ✔pass |

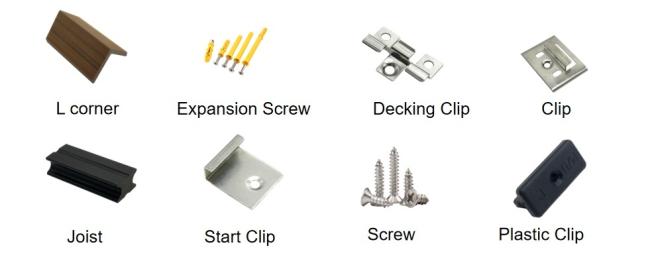
Installing the Joists (Battens): If the cladding panels are installed horizontally, the joists must be installed vertically (and vice versa). Fix the joists to the wall using expansion screws. Keep the center-to-center distance between the joists at 30cm - 35cm (if the spacing is too wide, the wall will sag or flex).
Fixing the First Panel: Start from the bottom or the side. Use a starter clip (or screws) to secure the edge of the first panel to the joists. Make sure to double-check that this first piece is perfectly level or vertical.
Interlocking & Securing: Insert the tongue (male profile) of the next panel into the groove (female profile) of the previous one. Snap the dedicated fixing clip onto the exposed joint where the panel meets the joist, and tighten the screw. Repeat this process, stacking them like building blocks.
Finishing & Trimming: Cut the final panel to fit the remaining space. Cover and seal all perimeter edges and corners using matching L-shape corner trims (secured with structural adhesive or a brad nailer).

Get in Touch
Have questions about our products or want to discuss a custom order? Our team is ready to help you.