
Scratch Resistant WPC Exterior Wall Cladding Recycled Plastic Wood Cladding
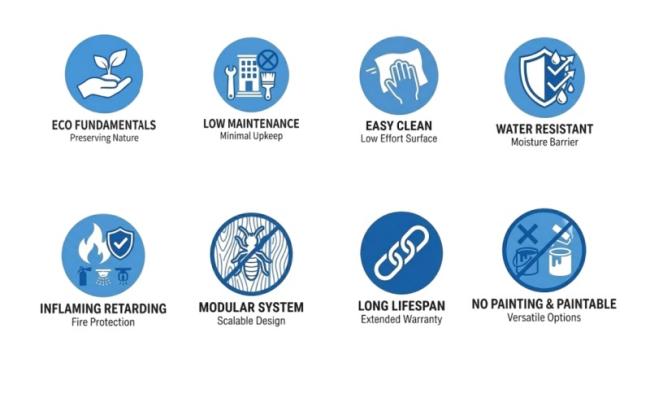
Featuring an ultra-durable shield layer, this WPC cladding is highly resistant to scratches and everyday scuffs. It completely eliminates the need for sanding, staining, or repainting over its decades of service life, offering commercial property owners a truly worry-free facade that cuts long-term maintenance budgets to zero.
-
Anti-Scratch Shield CoatingThe high-density polymer outer shell protects against pet claws, ladders, and accidental high-traffic scuffs without exposing the inner core.
-
No Painting or Staining RequiredThe color is deeply embedded into the co-extruded shield during manufacturing, meaning it will never peel, flake, or require periodic clear coats.
-
Easy Wash Cleaning SystemThe non-porous surface prevents oil, dirt, and pollution from bonding; a simple pressure washer or soapy water removes graffiti and grime effortlessly.
| NO. | Test Items | Requirements | Results | Verdict |
|---|---|---|---|---|
| 1 | Minimum concentrated load, N | ≥3400 | 3492 | ✔pass |
| 2 | Static bending strength,MPa | ≥26.0 | 26.5 | ✔pass |
| 3 | Elastic modulus, MPa | ≥3000 | 4600 | ✔pass |
| 4 | Water absorption, % | ≤1.0 | 0.9 | ✔pass |
| 5 | Falling hammer impact at low temperature | No crack at the temperature of -10°C | pass | ✔pass |
| 6 | Dimensional change rate after water absorption, % | Length ≤0.3 | 0.1 | ✔pass |
| 7 | Dimensional change rate after water absorption, % | Width ≤0.4 | 0.1 | ✔pass |
| 8 | Dimensional change rate after water absorption, % | Thickness ≤0.5 | 0.5 | ✔pass |
| 9 | Anti-slippery value | ≥35 | 36 | ✔pass |

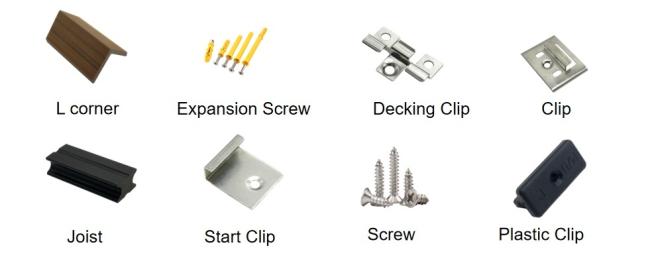
Installing the Joists (Battens): If the cladding panels are installed horizontally, the joists must be installed vertically (and vice versa). Fix the joists to the wall using expansion screws. Keep the center-to-center distance between the joists at 30cm - 35cm (if the spacing is too wide, the wall will sag or flex).
Fixing the First Panel: Start from the bottom or the side. Use a starter clip (or screws) to secure the edge of the first panel to the joists. Make sure to double-check that this first piece is perfectly level or vertical.
Interlocking & Securing: Insert the tongue (male profile) of the next panel into the groove (female profile) of the previous one. Snap the dedicated fixing clip onto the exposed joint where the panel meets the joist, and tighten the screw. Repeat this process, stacking them like building blocks.
Finishing & Trimming: Cut the final panel to fit the remaining space. Cover and seal all perimeter edges and corners using matching L-shape corner trims (secured with structural adhesive or a brad nailer).


Get in Touch
Have questions about our products or want to discuss a custom order? Our team is ready to help you.