
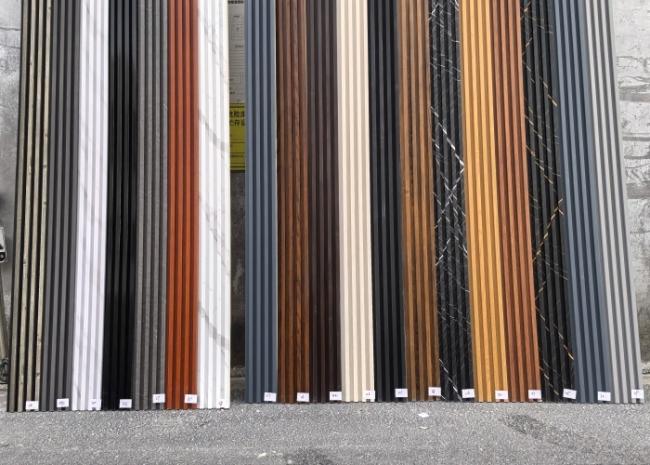
Eco Shielded Anti Scratch Interior WPC Louver Wall Panel 195*14mm
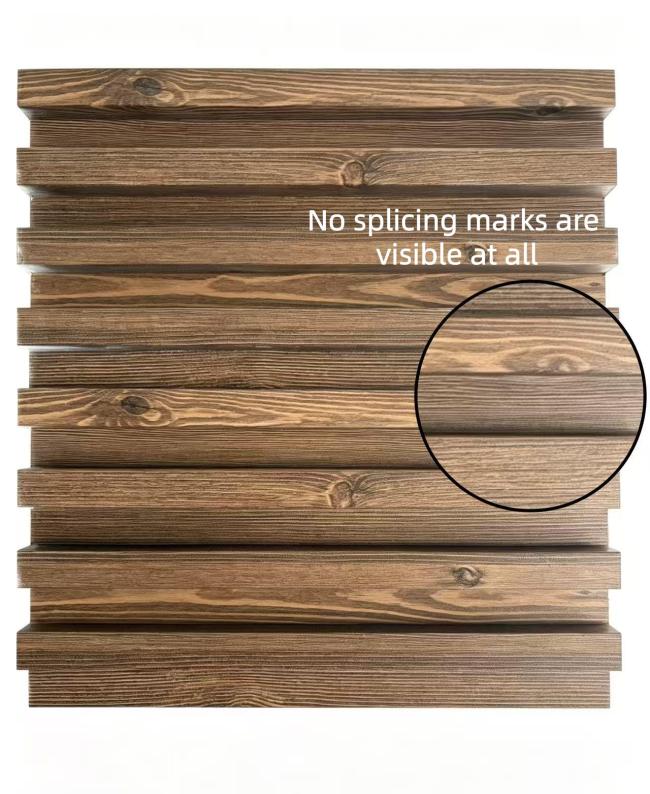
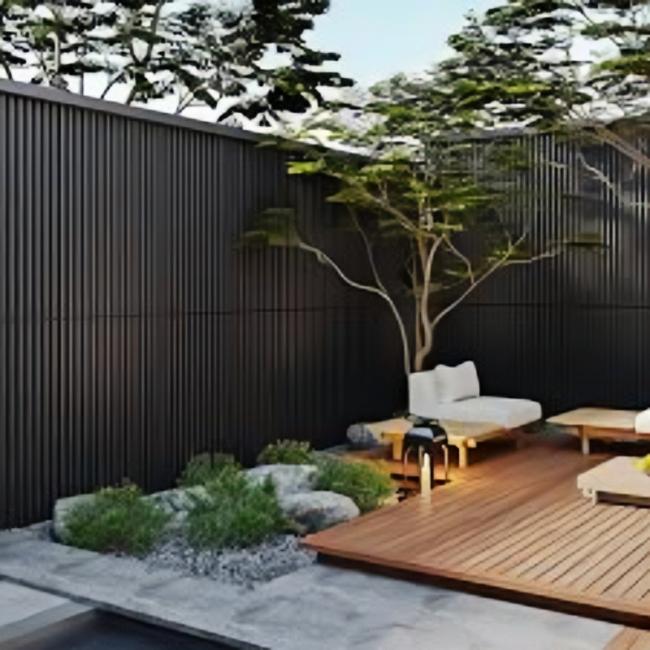
Utilizing advanced multi-layer thermal co-extrusion technology, a high-density eco-shield is fused over a lightweight yet high-strength composite core matrix. While guaranteeing zero formaldehyde emissions and zero chemical leaching to meet the strictest indoor air quality standards, this system significantly upgrades surface hardness to resist severe scratching, scuffing, and physical impacts during daily residential and commercial activities. Melding modern linear aesthetics with rugged surface durability, this fluted product serves as the definitive hard-wearing solution for premium residential feature walls and commercial interiors.
-
Heavy-Duty Hardness Against Micro-Scratching
Engineered with a reinforced protective layer, this interior WPC wall panel achieves excellent surface hardness, preventing the delicate linear edges of the fluted design from chipping, gouging, or scratching. -
Certified Non-Toxic E0 Indoor Eco-Shielding
The composite matrix utilizes eco-safe formulation entirely free from hazardous chemical glues and volatile VOCs, achieving a certified E0 eco-rating safe for closed, sensitive indoor environments. -
Zero Splintering Structural Safety
The uniform co-extruded outer layer encapsulates the linear core entirely, ensuring the fluted wall will never splinter, peel, or break apart, guaranteeing a safe, touchable profile for kids and pets. -
Dimensional Stability in Heated Interiors
Featuring excellent linear expansion control under the protective jacket, the panel resists physical bowing, warping, and shrinkage even when exposed to indoor floor heating or seasonal moisture shifts.
| No. | Test Item | Test Method | Specification & Performance |
|---|---|---|---|
| 1 | Material Composition | Manufacturing Standards | 60% Reclaimed Hardwood Fiber + 30% Eco-HDPE + 10% Non-toxic Additives |
| 2 | Formaldehyde Emission | EN 717-1 / SGS | ≤ 0.05 mg/m³ (EU E0 Standard / Passed) |
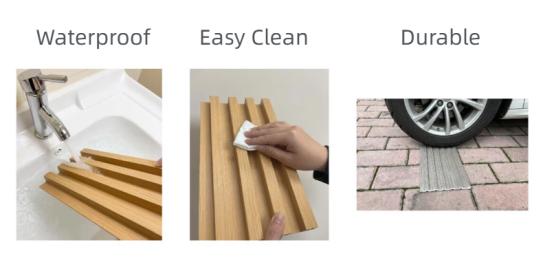
| 3 | Water Absorption Rate | ASTM D1037 | ≤0.5% (24-hour full immersion testing) |
| 4 | Fire Retardancy Rating | EN 13501-1 | Class B-s1, d0 (Self-extinguishing, low smoke density) |
| 5 | Linear Thermal Expansion | ASTM D696 | ≤0.15% (Under severe global temperature changes) |
| 6 | Colorfastness (UV Aging) | ISO 105-A02 / ASTM | Grade ≥4 (After 2,000 hours of accelerated xenon-arc exposure) |
| 7 | Heavy Metals & SVHCs | RoHS 2.0 / REACH | 0% Detected (Lead, Mercury, Cadmium, Asbestos free) |

Dedicated Metal Clip Method
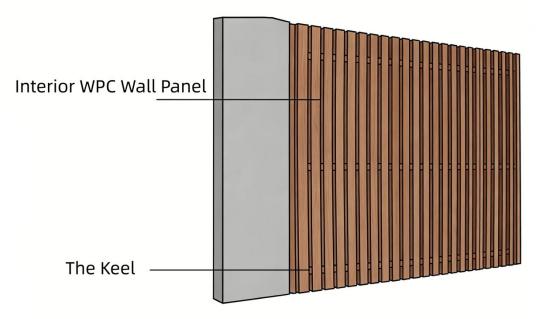
- Applicable Surfaces: Used in conjunction with light steel framing or timber substrates, ideal for high-end commercial projects.
- Core Tools: Stainless steel mounting clips, self-tapping screws.
Step-by-Step Installation:
- Positioning the First Panel: Secure the position of the starting panel.
- Fixing the Clips: Slide the stainless steel clips onto the panel's side lip, then drive self-tapping screws through the clip holes into the batten or substrate.
- Engaging the Next Panel: Slide the next panel's groove in; it will completely cover and hide the clip and screw.
Key Installation Tips
- Corner Trimming: For 90-degree external corners, you can do a 45° miter joint or use matching L-shape trim profiles for a clean finish.
- Handling Switches and Outlets: When dealing with switch plates, pre-cut the openings using a hole saw or hand saw. Because of the panel's thickness, electrical box extensions (or longer screws) are usually required to flush the switch plate with the fluted surface.

Get in Touch
Have questions about our products or want to discuss a custom order? Our team is ready to help you.